How to Root Bluestacks - Custom Rooting Work on all Versions
This rooting technique work on 32 bit operating system only , if you want to root bluestacks in windows 7 and upper then refer to this post - custom bluestacks rooting for all versions of windows . If you get any problem regarding to this then please comment it i'll try to solve .
I tested it on Windows Xp pro 32 bit operating system and Bluestacks version - 0.8.2.3018
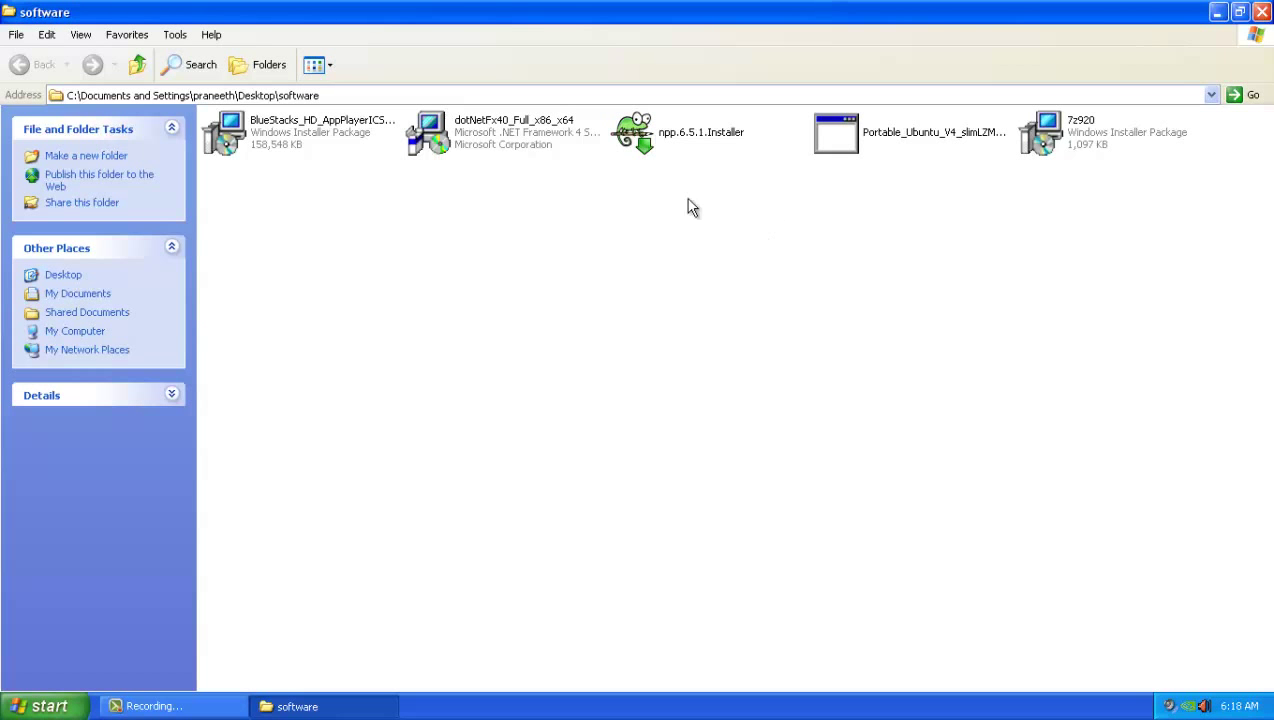
For rooting bluestacks first you have to download this software's
Quit the blustacks application by left click on bluestacks icon at the bottom right side of the screen

Now right click on the Taskbar > Task manager > processes select HD-logrotated.. and click on end process

Extract the Portable Ubuntu folder to the desktop and change the name from portable_ubunt_v4_slim2 to portable_ubuntu , copy the folder and past it into the C:\Program Files

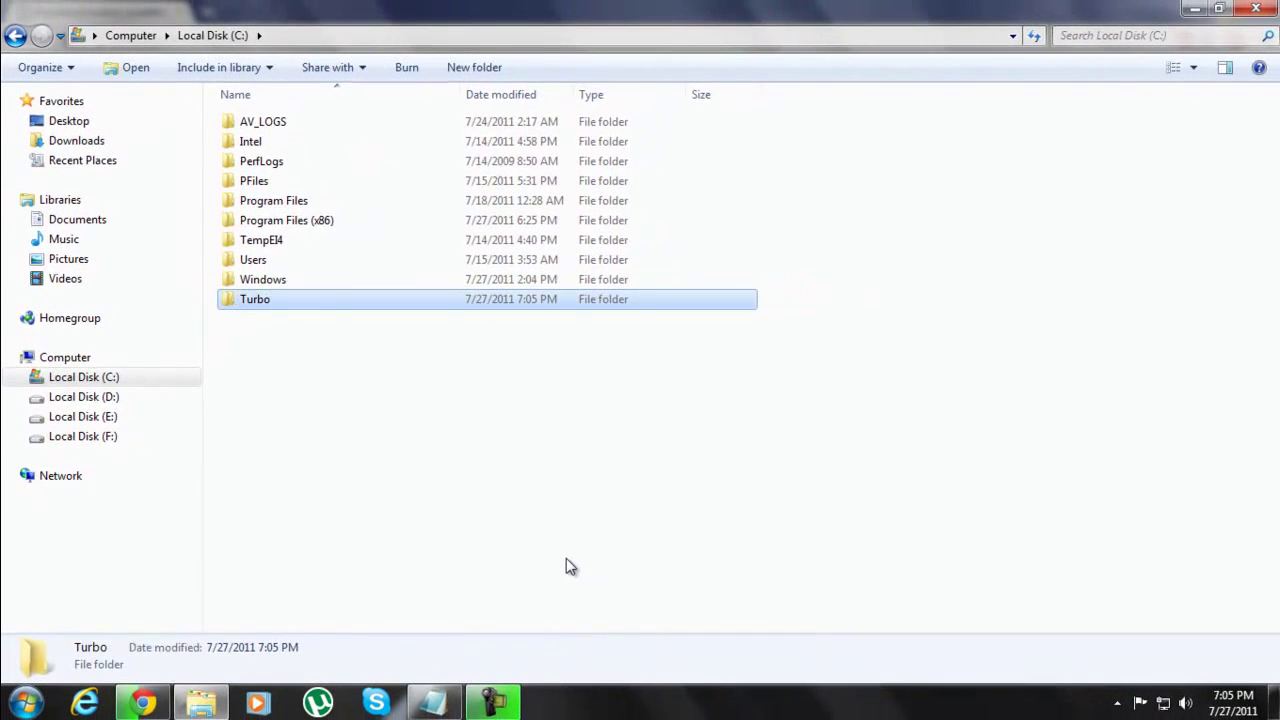
Create a folder at C:\ drive name it pubuntu

Extract Updated-SuperSu-v1.69 folder to the desktop

Rename the busybox-i686 to busybox copy the file and past it into the C:\pubuntu folder

Open the 7-zip application and find the path to desktop where super su folder is extracted , Now open the folder common\superuser.apk\assets
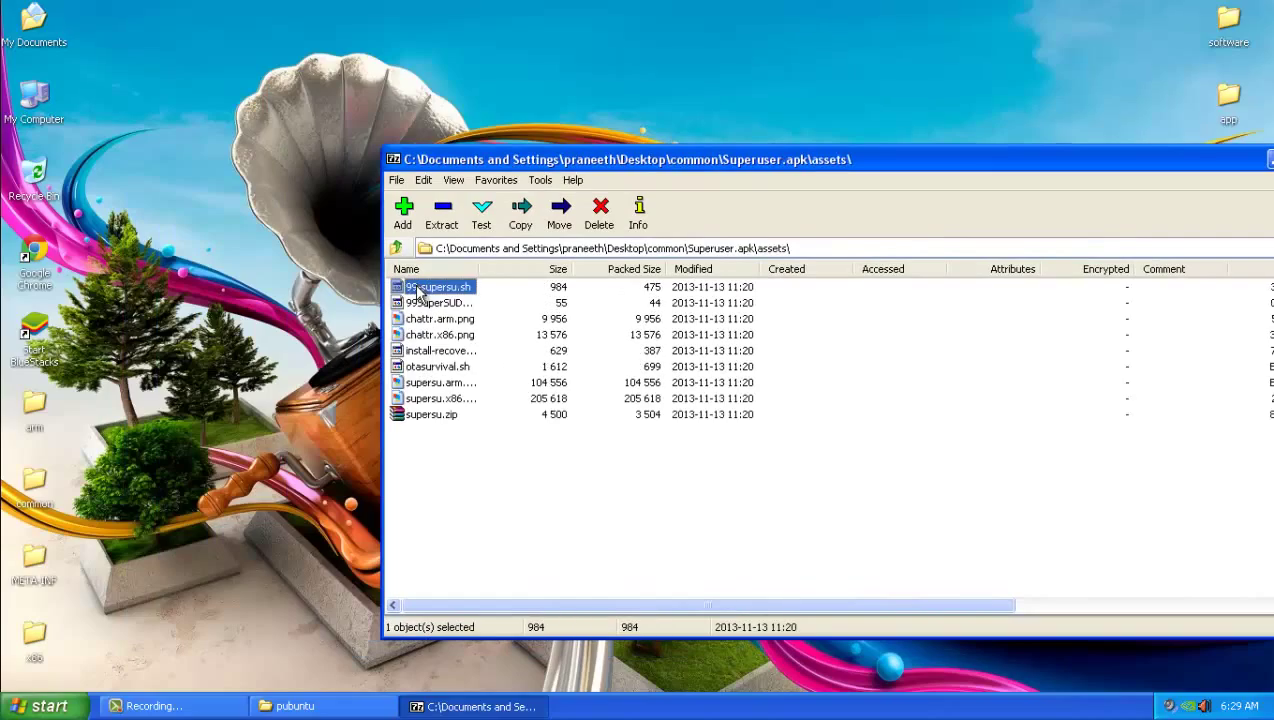
Select chatter.x86 and supersu.x86 file from the 7-zip application and drag it out to the desktop , rename it to chatter.arm and supersu.arm now select the both files and drag it back to the 7-zip application replace the files

Copy the all 4 folders arm, x86, common and META-INF form desktop to the c:\pubuntu folder and past it

Copy su file from X86 folder and past it into pubuntu folder, now copy all 3 files from common folder and past it into c:\pubuntu folder

open file explorer > Tools > folder option > view > check the option show hidden files

Go to C:\Documents and Settings\All Users\Application Data\BlueStacks\Android and select the file initrd.iso and copy it to the desktop . Now open the 7-zip application and open the initrd.img

Drag the file initrd to the desktop and open it into notepad ++ and find the text try_mount ro repace it with try_mount rw

Save the file and drag it back to the 7-zip application replace the old file , save then copy the file and go to C:\Documents and Settings\All Users\Application Data\BlueStacks\Android\

Rename the existing file to initrd.img.bak for the backup if any thing goes wrong now past the modified initrd.img file into the directory C:\Documents and Settings\All Users\Application Data\BlueStacks\Android\

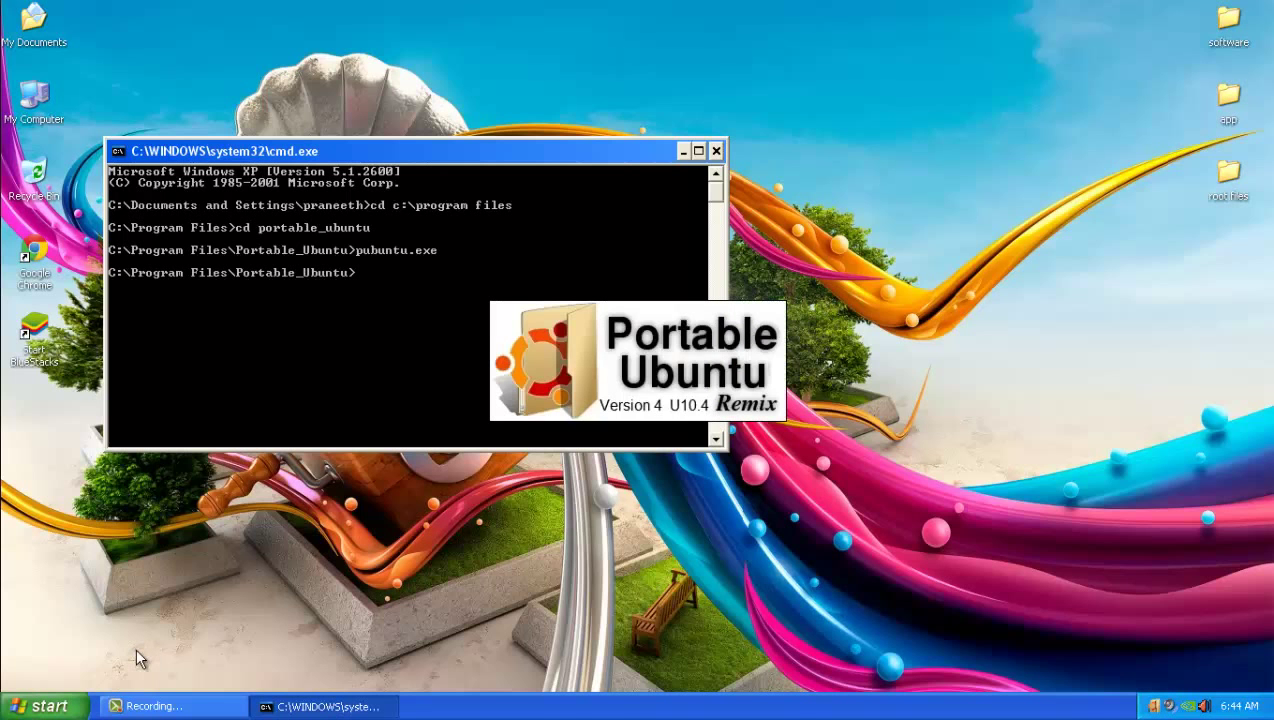
Now open Run (Ctrl+R) > cmd

Now type the following commands in cmd
Wait until it ready to open

Now go to the Applications > Assessors > Terminal

Type the following commands
The default password for portable ubuntu is - 123456

Follow this commands line by line into the terminal

Install custom launcher like Apex launcher because Superuser app does not show up in BlueStacks' Launcher, Know you are successfully rooted you're bluestacks
I tested it on Windows Xp pro 32 bit operating system and Bluestacks version - 0.8.2.3018
For rooting bluestacks first you have to download this software's
- Download .Net Framework & install it - Microsoft .NET Framework 4 (only recommended for Windows Xp users )
- Download Bluestacks & install it - Bluestacks
- Download 7zip & install it - 7zip
- Download Notepad ++ & install it - Notpad++
- Download Portable Ubuntu - Portable ubuntu
- Download Busybox-i686 - Busybox-i686
- Download SuperSu pro - SuperSU Pro
Quit the blustacks application by left click on bluestacks icon at the bottom right side of the screen
Now right click on the Taskbar > Task manager > processes select HD-logrotated.. and click on end process
Extract the Portable Ubuntu folder to the desktop and change the name from portable_ubunt_v4_slim2 to portable_ubuntu , copy the folder and past it into the C:\Program Files
Create a folder at C:\ drive name it pubuntu
Extract Updated-SuperSu-v1.69 folder to the desktop
Rename the busybox-i686 to busybox copy the file and past it into the C:\pubuntu folder
Open the 7-zip application and find the path to desktop where super su folder is extracted , Now open the folder common\superuser.apk\assets
Select chatter.x86 and supersu.x86 file from the 7-zip application and drag it out to the desktop , rename it to chatter.arm and supersu.arm now select the both files and drag it back to the 7-zip application replace the files
Copy the all 4 folders arm, x86, common and META-INF form desktop to the c:\pubuntu folder and past it
Copy su file from X86 folder and past it into pubuntu folder, now copy all 3 files from common folder and past it into c:\pubuntu folder
open file explorer > Tools > folder option > view > check the option show hidden files
Go to C:\Documents and Settings\All Users\Application Data\BlueStacks\Android and select the file initrd.iso and copy it to the desktop . Now open the 7-zip application and open the initrd.img
Drag the file initrd to the desktop and open it into notepad ++ and find the text try_mount ro repace it with try_mount rw
Save the file and drag it back to the 7-zip application replace the old file , save then copy the file and go to C:\Documents and Settings\All Users\Application Data\BlueStacks\Android\
Rename the existing file to initrd.img.bak for the backup if any thing goes wrong now past the modified initrd.img file into the directory C:\Documents and Settings\All Users\Application Data\BlueStacks\Android\
Now open Run (Ctrl+R) > cmd
Now type the following commands in cmd
Wait until it ready to open
Now go to the Applications > Assessors > Terminal
Type the following commands
The default password for portable ubuntu is - 123456
Follow this commands line by line into the terminal
Install custom launcher like Apex launcher because Superuser app does not show up in BlueStacks' Launcher, Know you are successfully rooted you're bluestacks
none of the links work
ReplyDeleteIs it posible to make it rooted in windows 7 64Bit
ReplyDelete